Products on Sale | See all
-
Sale!
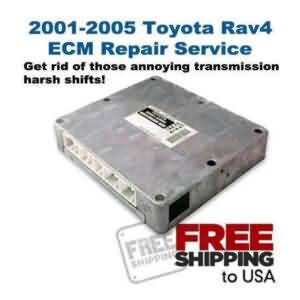
2001-2005 Toyota Rav4 ECM Repair Service
Original price was: $175.00.$159.00Current price is: $159.00. -
Sale!

Performance Chip for the 1994-1995 BMW 325i / 525i 2.5L Vanos
Original price was: $99.00.$80.00Current price is: $80.00. -
Sale!
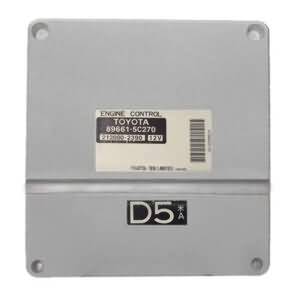
2000 – 2005 Toyota Echo ECM Repair Service
Original price was: $159.00.$120.00Current price is: $120.00. -
Sale!
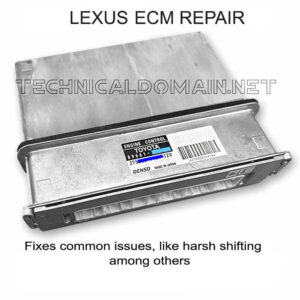
Repair service for the ECM of the 2001-2006 Lexus LS430
Original price was: $199.00.$159.00Current price is: $159.00. -
Sale!
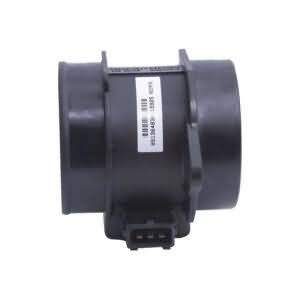
Mass Air Flow Sensor (MAF) for 2001-2005 Kia Rio models 74-10053
Original price was: $99.00.$65.00Current price is: $65.00.
Shop by Brands
Sorted by Popularity
-
Sale!
2001-2005 Toyota Rav4 ECM Repair Service
Original price was: $175.00.$159.00Current price is: $159.00. -

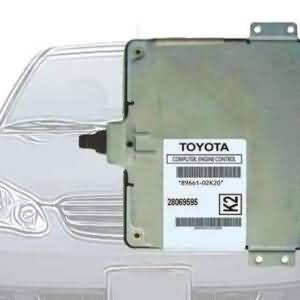
2005-2007 Toyota Corolla Automatic ECM 89661-02K20 VIN Included
$216.87 -
2005-2008 Toyota Corolla and Matrix Immobilizer Reprogramming Service (VIN included)
$99.00 -
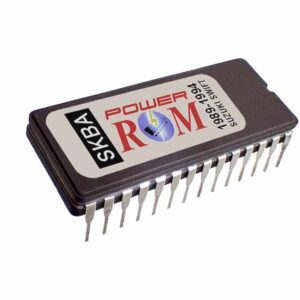
Suzuki Swift GT / GTi Performance Chip (1989-1994 models 1.3L G13B)
$75.00 -
Sale!
Performance Chip for the 1994-1995 BMW 325i / 525i 2.5L Vanos
Original price was: $99.00.$80.00Current price is: $80.00. -
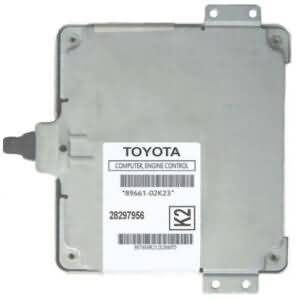
2005-2007 Toyota Corolla Automatic ECM 89661-02K23 VIN Included
$218.06 -
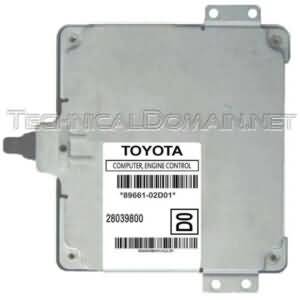
2005-2007 Toyota Corolla Automatic ECM 89661-02D01 VIN Included
$223.85 -
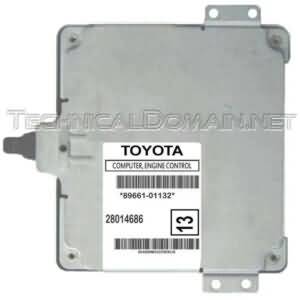
2004-2006 Toyota Matrix Automatic Refurbished ECM 89661-01132 VIN Included
$276.02 -
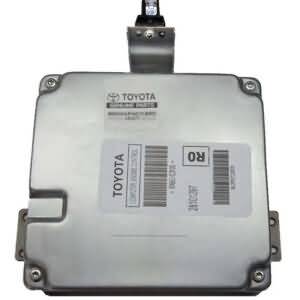
2008 Toyota Corolla CE/S 1.8L Automatic ECM 89661-02R00 VIN Included
$238.35 -
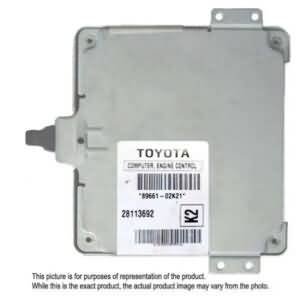
2005-2007 Toyota Corolla Automatic ECM 89661-02K21 VIN Included
$238.35 -
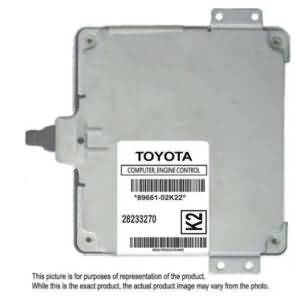
2005-2007 Toyota Corolla Automatic ECM 89661-02K22 VIN Included
$201.07 -
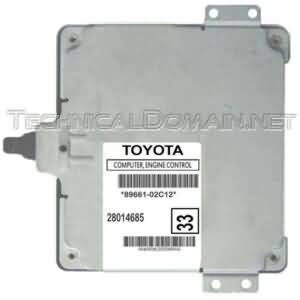
2005-2007 Toyota Corolla Automatic ECM 89661-02C12 VIN Included
$252.83 -
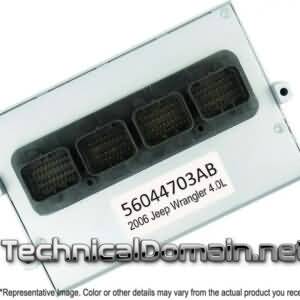
2006 Jeep Wrangler ECM 56044703AB Plug & Play VIN Included
$395.00 -
2005-2008 Toyota Corolla and Matrix Virgin Immobilizer Chip with VIN number
$39.99 -
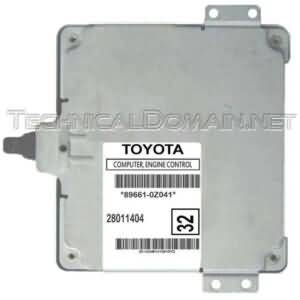
2005-2006 Toyota Corolla or Matrix M/T ECM 89661-0Z041 VIN Included
$293.42 -
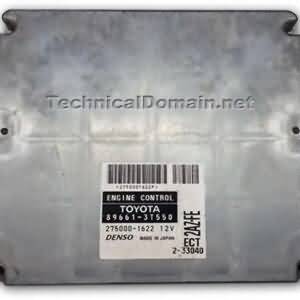
2002 Toyota Camry ECU 89661-3T550
$252.83 -
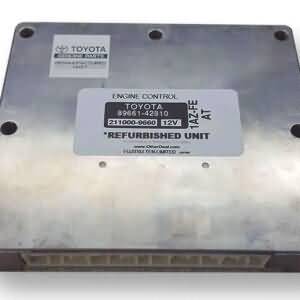
2001-2003 Toyota Rav4 Refurbished ECM 89661-42810
$255.65 -
Sale!
2000 – 2005 Toyota Echo ECM Repair Service
Original price was: $159.00.$120.00Current price is: $120.00. -
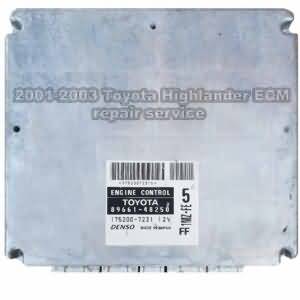
2001-2003 Toyota Highlander ECM repair service
$159.00 -
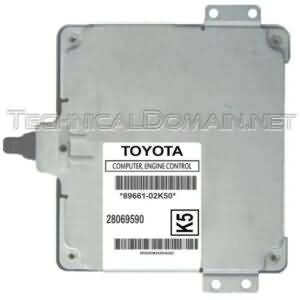
2005-2007 Toyota Corolla and Matrix M/T ECM 89661-02K50 VIN Included
$293.43 -
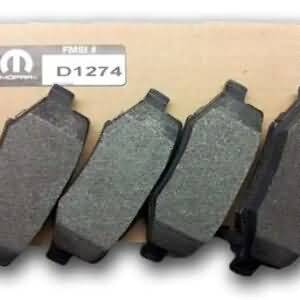
2007-2012 Mopar D1274 Jeep Rear Brake Pads V2013776AA
$40.00 -
2001-2003 ECM 89661-48410 for Toyota Highlander A/T 3.0L V6 2WD
$252.83 -
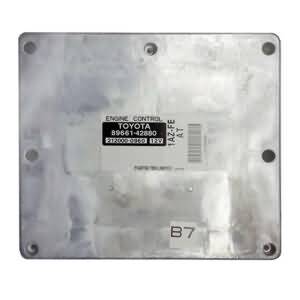
2001-2003 Toyota Rav4 Refurbished ECM 89661-42880
$316.61 -
2008-2009 Toyota Camry 2.4L Refurbished ECM 89661-06G41
$125.29
Most Viewed Products
-
2001-2005 Toyota Rav4 ECM Repair Service
120117 Views Original price was: $175.00.$159.00Current price is: $159.00.
-
2005-2007 Toyota Corolla Automatic ECM 89661-02K20 VIN Included
35358 Views $216.87
-
2005-2008 Toyota Corolla and Matrix Immobilizer Reprogramming Service (VIN included)
35204 Views $99.00
-
Suzuki Swift GT / GTi Performance Chip (1989-1994 models 1.3L G13B)
25729 Views $75.00
-
Performance Chip for the 1994-1995 BMW 325i / 525i 2.5L Vanos
22356 Views Original price was: $99.00.$80.00Current price is: $80.00.
Top rated products
-
Performance Chip for the 1994-1995 BMW 325i / 525i 2.5L Vanos
Original price was: $99.00.$80.00Current price is: $80.00.
-
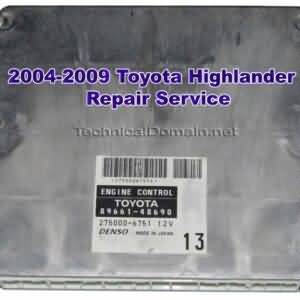 2004-2009 Toyota Highlander ECM repair service
$159.00
2004-2009 Toyota Highlander ECM repair service
$159.00
-
Repair service for the ECM of the 2001-2006 Lexus LS430
Original price was: $199.00.$159.00Current price is: $159.00.
-
2005-2007 Toyota Corolla Automatic ECM 89661-02K20 VIN Included
$216.87
-
2005-2007 Toyota Corolla Automatic ECM 89661-02K23 VIN Included
$218.06